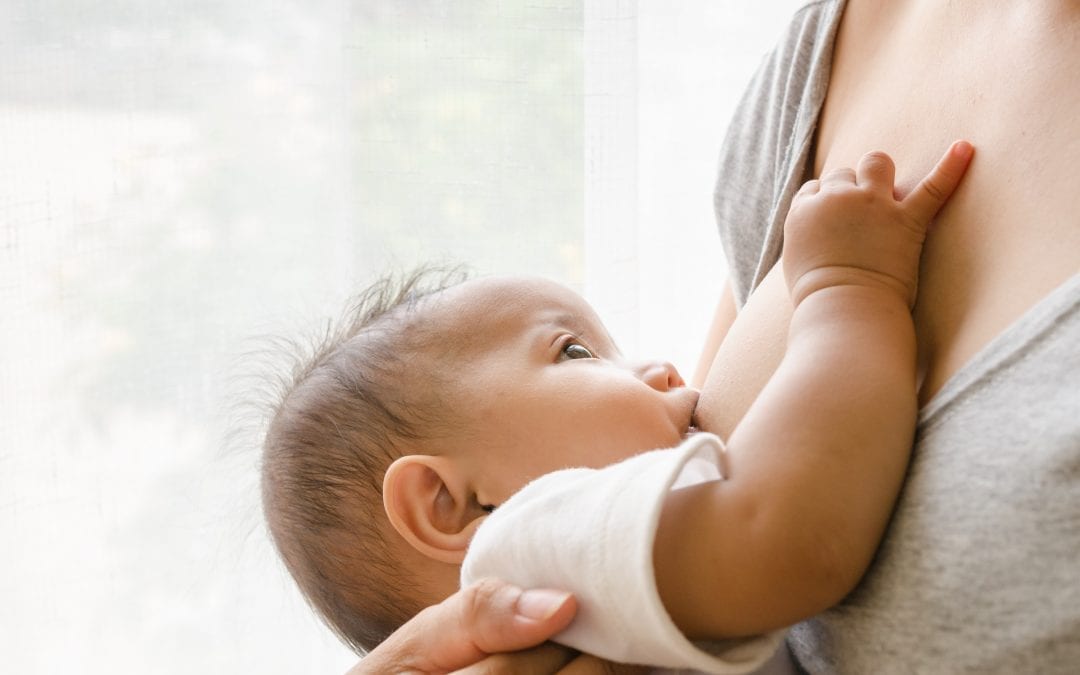
What Foods To Avoid While Breastfeeding
Being pregnant comes with a lot of dos and don’ts. You probably received a list at your first OB/GYN visit of all of the foods you needed to avoid while pregnant. During the next nine months, you faithfully avoided wine, alcohol, sushi and blue cheese as your little one grew inside of you. Now that you’ve had your baby, you can relax a little bit on the list of strict dietary restrictions from when you were pregnant—but there are still some foods you should avoid while breastfeeding.
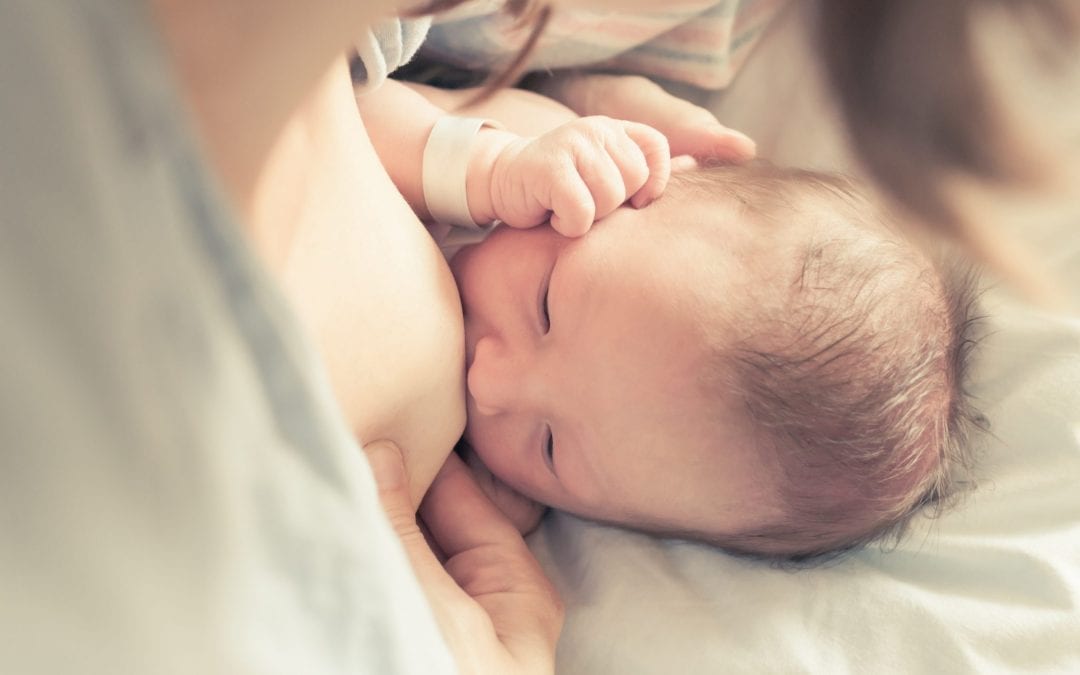
Breastfeeding moms pass what they eat onto their baby through their breast milk, so it’s important to be mindful of what you’re eating (and drinking). Taking precautions and keeping these foods and drinks to avoid while breastfeeding in mind will keep your little one growing happy and healthy!
Foods and Drinks to Avoid While Breastfeeding
- Fish
- Highly-Processed Foods
- Spicy Foods
- Chocolate
- Cruciferous Vegetables and Beans
- Garlic
- Peppermint, Sage and Parsley
- Alcohol, Beer and Wine
- Coffee and Tea
- Medicines to Avoid or Talk to Your Doctor About
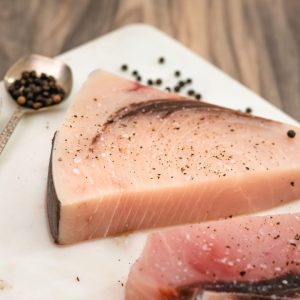
Fish
If your only request for a push present is a platter of sushi, we’ve got good news for you: as long as the sushi comes from a high-quality restaurant, sushi and raw fish are generally considered safe for breastfeeding moms. Fish are a great source of protein and omega-3 fatty acids and can help replenish your body. Some fish that are high in mercury, such as swordfish and marlin, should be eaten no more than twice a week to prevent too much mercury from making its way to your baby.
Highly-Processed Foods
Sometimes nothing satisfies a craving like potato chips or a brownie, but try to keep these as an occasional treat. Highly-processed foods don’t offer much nutrition for you, and some studies have found that eating too many during breastfeeding can alter your little one’s food preferences when they are older. This may lead to obesity later on in their life—another reason it’s high on the list of foods to avoid while breastfeeding.
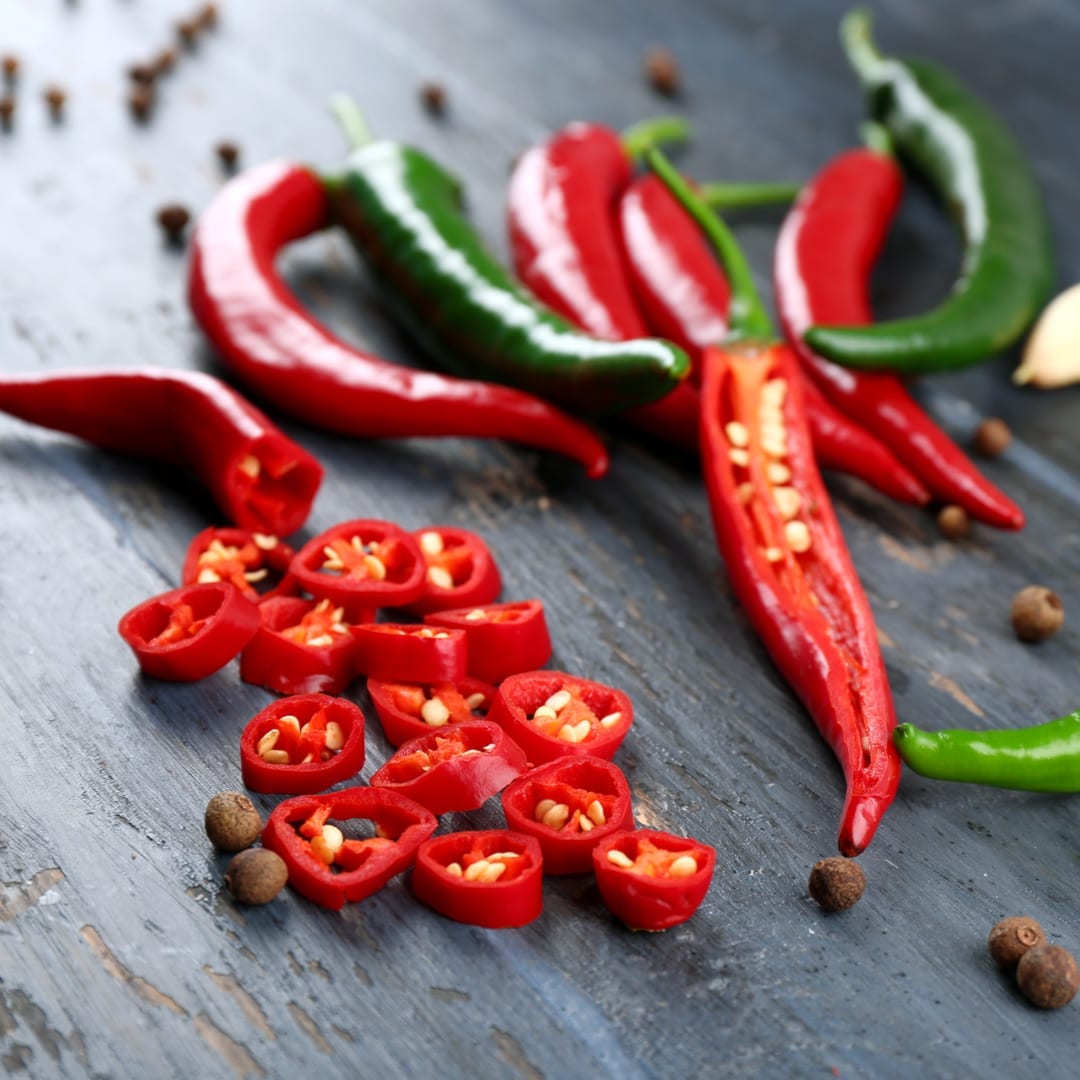
Spicy Foods
Moms all over the world enjoy spicy foods and most babies tolerate them well, so they aren’t completely off-limits. Keep in mind that spicy foods can cause colic, gas and diarrhea in your baby, however, so introduce them slowly and see how eating these may affect your little one. If they are uncomfortable, skip the spicy takeout and opt for something milder.

Chocolate
Chocolate has a small amount of caffeine that can sometimes alter your little one’s sleep schedule. It also has a laxative effect on some babies. So indulging in chocolate as an occasional treat is A-OK—just watch your little one’s reaction afterward.
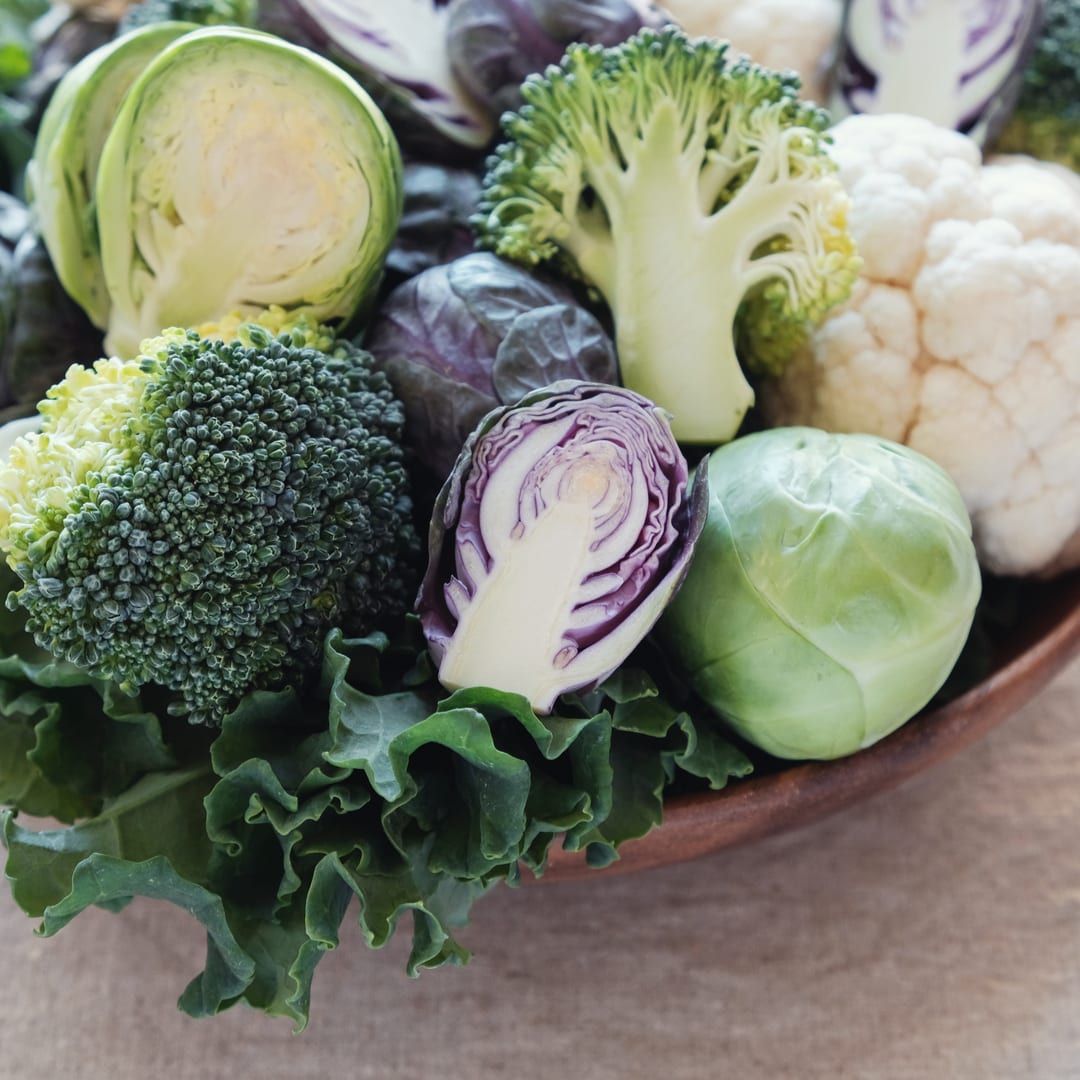
Cruciferous Vegetables and Beans
Broccoli, cauliflower, bok choy, brussels sprouts, arugula, cabbage and beans are super-foods that are full of vitamins, nutrients and fiber. Unfortunately, if these foods cause gas in you, they will likely cause gas in your baby. A small amount of burping, gas and spitting up is normal in babies, but if your little one seems miserable after you eat these foods, skip them or limit how much you eat. If it continues, you may want to consider supplementing for formula.

Garlic
Studies have found that breast milk takes on the flavors of the foods you eat. This can expose your infant to a wide range of flavors that can help them be less picky eaters later in life. Unfortunately, garlic is a taste that many babies don’t like. Stick to minimal amounts to prevent your baby from refusing to nurse.
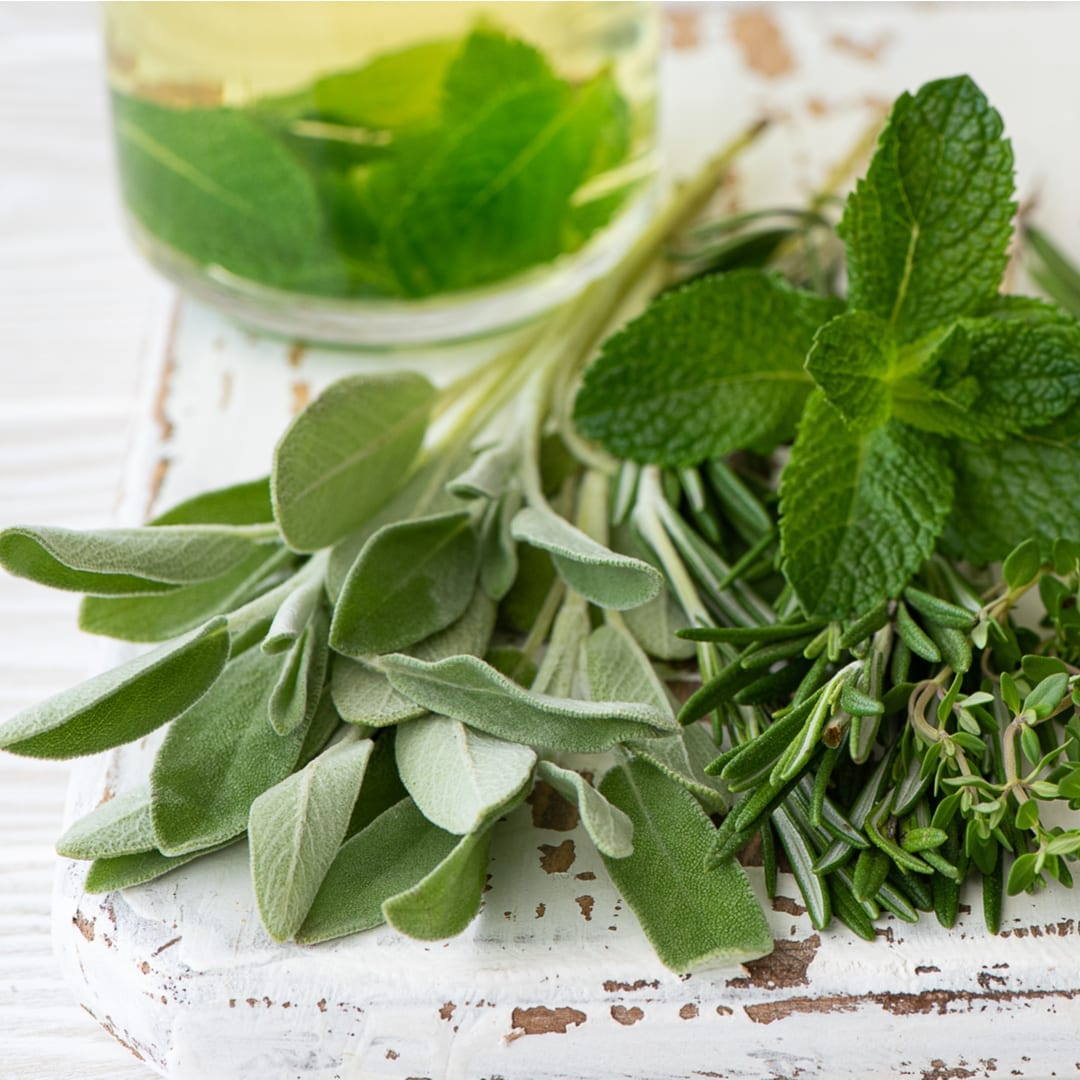
Peppermint, Sage and Parsley
These delicious herbs can take your meals to the next level, but if you eat too many of them, your milk supply may decrease. Eat small amounts of the peppermint, sage and parsley while continuing to enjoy your favorite foods.

Alcohol, Beer and Wine
After nine months of no wine or beer, you are probably more than ready to have a drink. Alcohol does pass into breast milk, but it doesn’t mean you can’t have the occasional cocktail. It does mean, however, that you should plan ahead of time. After drinking, it’s important to assess how you are feeling. If you are tipsy or drunk, you shouldn’t breastfeed.
The American Academy of Pediatrics says ‘pumping and dumping’ when drinking isn’t necessary; once the alcohol is out of your blood, it is out of your milk as well. It is generally safe to breastfeed after having one glass of wine or one beer; if you want to have more than this, make a plan. Drink soon after breastfeeding and allow your body time to metabolize the alcohol before nursing again. It typically takes about one hour to metabolize one drink.

Coffee and Tea
After nursing your little one throughout the night, many moms look forward to their morning coffee to keep them alert for the day. Don’t worry, your morning cup of joe is allowed, but the caffeine can make its way to your baby. This can throw off their nap schedule, which may also throw off your nap schedule. Try to drink caffeinated coffee or tea soon after nursing to allow some of it to metabolize before your next feeding session or try opting for a decaf option instead.

Medicines to Avoid or Talk to Your Doctor About
It’s not just certain foods you should avoid while breastfeeding, there are some medications you should avoid, too. Many medications are considered safe to use while you are nursing. This is because most medicines pass in very small amounts to your baby and have little-to-no side effects on him or her. When it comes to treating a chronic condition, the benefits of you staying healthy and taking the medication generally outweigh the minute risks of your little one getting some through your milk. Always talk with your doctor about your medications and ask what is safe to take during breastfeeding. Some medicines to absolutely avoid include:
- Cancer drugs
- Ergots
- Beta blockers
- Certain seizure and epilepsy drugs
- Pseudoephedrine (may reduce milk supply)
- Full-strength aspirin (low dose is considered safe)
- Extra strength pain relievers as these can stay in your body for a longer period of time
How to Know if the Foods You Eat While Breastfeeding are Affecting Your Baby
Though breastfeeding moms can typically eat whatever they like, some babies have food sensitivities or intolerances. If you eat foods that your little one is sensitive to, a small amount can make its way to him or her in your breast milk and affect them. Some symptoms that may indicate that your baby has a food sensitivity or intolerance include: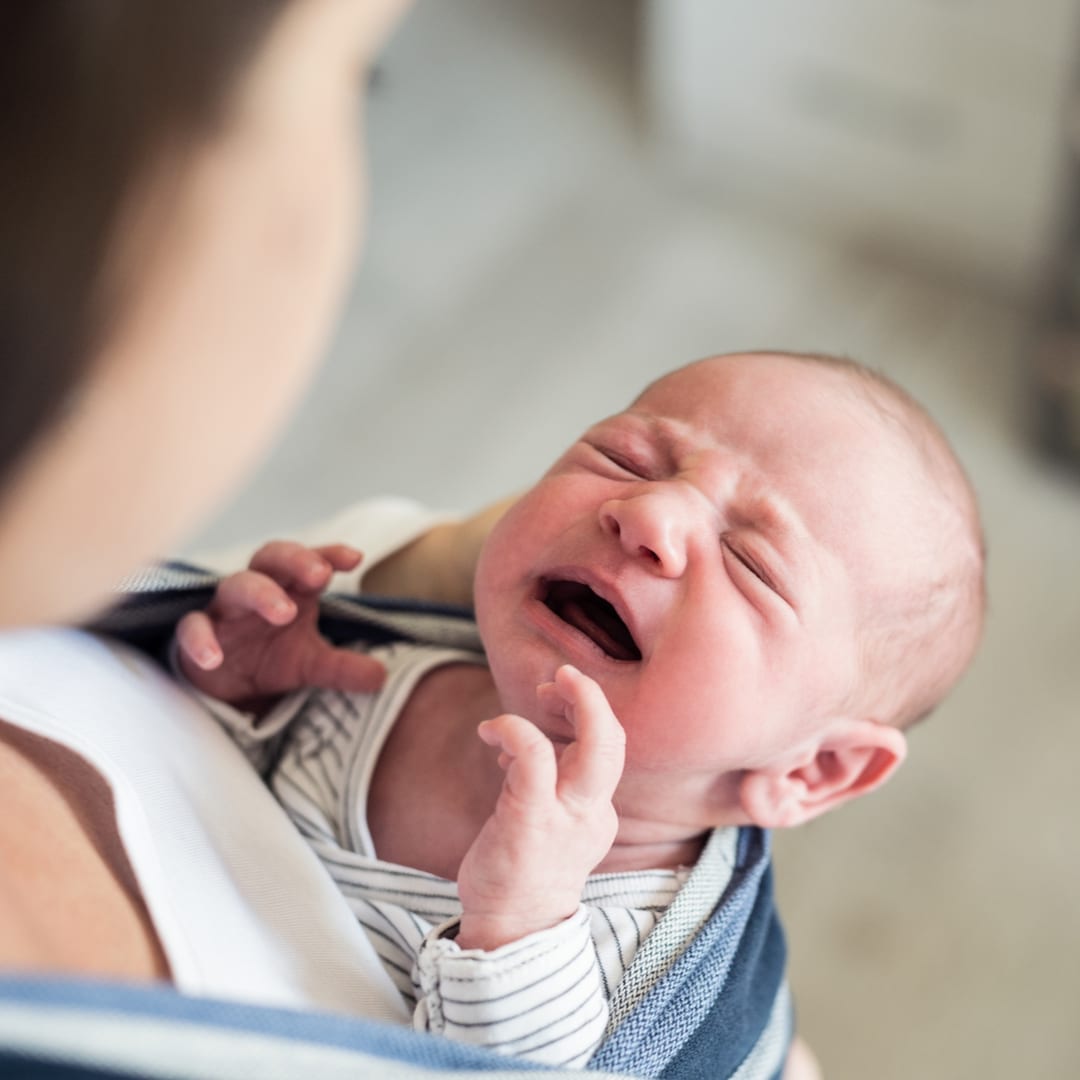
- Excessive fussiness
- crying inconsolably for long periods of time
- Hives or a raised, itchy rash
- Difficulty with sleeping
- Colic
- Dry skin
- Diaper rash
- Red, itchy eyes
- Vomiting
- Diarrhea
- Spitting up frequently
- Green stools with blood or mucus
If you notice any of these symptoms, talk to your child’s pediatrician. He or she may find another reason that these symptoms are occurring. If you suspect it may be a food intolerance or sensitivity, you could try an elimination diet.
Breastfeeding Elimination Diet
During an elimination diet, you avoid the food that you believe is triggering the problems in your baby. Don’t eat this food at all for two to three weeks. It’s important to check the labels of purchased foods to ensure it isn’t listed as an ingredient. If your baby’s symptoms clear up during these few weeks, then you know that food is causing the symptoms. If they don’t, try another food. Some of the most common foods to avoid while breastfeeding that upset babies include:
- Cows’ milk and other dairy products
- Eggs
- Soy
- Peanuts
- Tree nuts
- Fish/seafood
- Whole wheat
- Corn
Introducing Foods Back into Your Diet
If you tried an elimination diet and discovered a food that is causing a reaction in your baby, it is best to completely avoid this food for several months. As your little one’s immune and digestive systems strengthen and grow, he or she may be able to handle these foods again. After three months you can try eating the trigger food. Begin eating it in small amounts. If your baby seems to be okay, he or she might have outgrown the sensitivity. If the symptoms return, you will need to avoid eating the food until you are done breastfeeding.
Once you start introducing solids to your baby make sure that you avoid feeding him or her any foods with ingredients that are trigger foods. Being directly fed these foods will likely cause stronger reactions than they had when breastfeeding.
Replenishing Your Body with Nutrients

When you were pregnant, your body nourished your growing baby with the food and drinks that you ingested. Breastfeeding works a little differently. Your milk is produced in your mammary glands using your body’s extra reserves of nutrients and calories. While a specific diet isn’t required for your body to make milk, it does need enough calories to do so.
If you aren’t consuming enough calories or are eating a less-than-healthful diet, your body will use the calories and nutrients to make your breast milk first. This leaves your body to rely on whatever may be leftover. Without enough nutrition and calories, you may leave your body depleted of the necessary nutrients for your own health. As a mom, you make a lot of sacrifices for your baby, but your own health shouldn’t be one of them. Eat a nutritious diet that has a healthy balance of carbohydrates, protein, fat and nutrients to keep yourself healthy.
Let Us Help You Reach Your Breastfeeding Goals
Many moms begin their breastfeeding journey with a goal in mind. This may be to breastfeed for as long as your little one wants or for the first six months of his or her life. Whatever your goals, we want to help. Use our simple three-step form to instantly see if you qualify for a free insurance-provided breast pump now.


